Implementing Azure VMSS and AWS ASG For Autoscaling

We live in a world where we have more computing power than ever before. We also live in a world where application stacks take the most amount of computing they ever have. Because of those two facts, we need the ability to scale resources out and utilize various resource types to ensure that the applications we want to run can run as expected.
In this blog post, you’ll learn about one key method, which is auto-scaling VMs.
Prerequisites
To follow along with this blog post from a hands-on perspective, you’ll need to have the following:
- An Azure account.
- An AWS account.
If you only have one or the other, that’s fine as the hands-on pieces are split up by section/cloud. If you don’t have an Azure or AWS account and want to just follow along, you absolutely can!
What Is Auto Scaling
Let’s think of an example - you have an application and that stack is running on either virtual machines or a service that uses Virtual Machines (VM) on the backend. You have a few choices in front of you. The first is to set up hot VMs, cold VMs, and full High Availability (HA) and Disaster Recovery (DR) strategy. The second step is to configure all of the networking needed to point from one VM to another if/when the VM fails or even worse, something occurs within the data center location which means you have to route traffic to a VM in another data center. That’s a lot of steps, and those are the steps that engineers used to have to take (and still do if they aren’t using the solution we’re about to discuss).
Instead, you can use the cloud to load balance the traffic for you. When it comes to Azure and AWS, there are two options:
- Azure Virtual Machine Scale Sets (VMSS)
- AWS Auto Scaling Groups (AWS ASG).
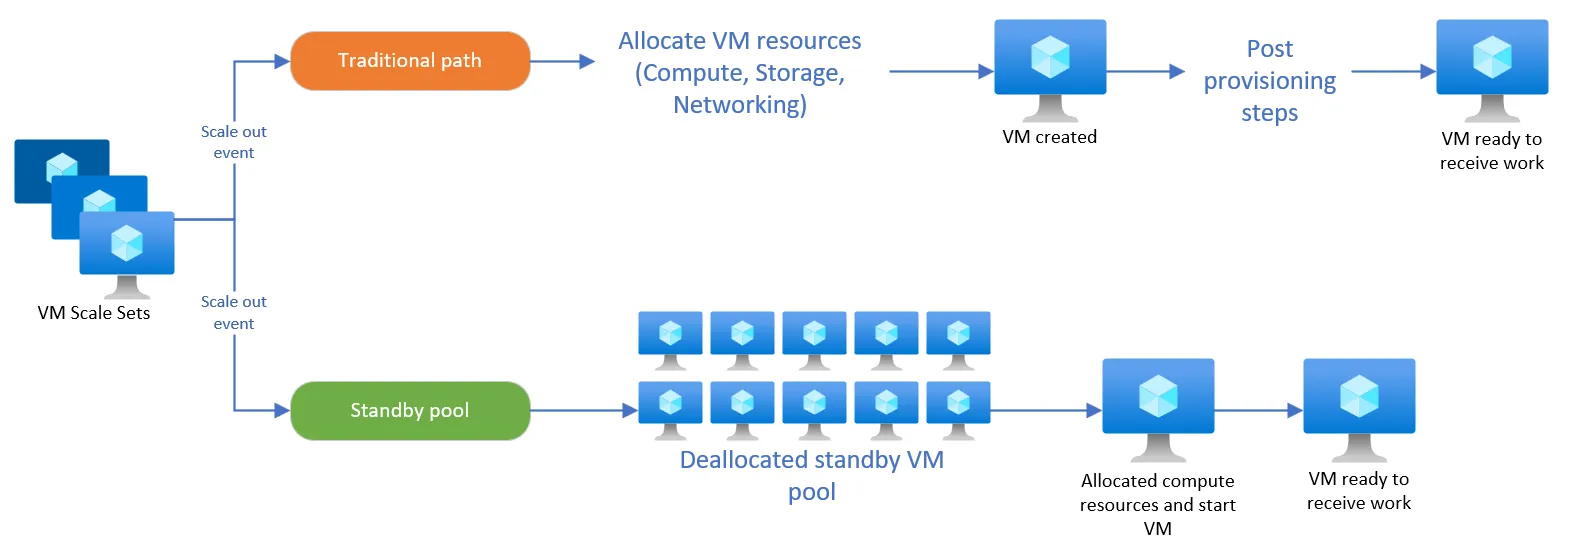
https://learn.microsoft.com/en-us/azure/virtual-machine-scale-sets/standby-pools-overview
Effectively, they’re the same thing. They allow you to have multiple VMs in the backend that will accept traffic based on load and network needs (for example, if you need to push traffic to another data center/AZ).
Aside from load balancing traffic across VMs, you can also manage zone-based traffic. For example, in AWS ASG, you can choose if you want the instances to burst out across availability zones (AZ) based on the subnets you’re using. This is great if you want the ability to scale across data centers to ensure that, if, for example, a data center goes down, your application will properly scale based on location. You can do the same thing for Azure VMSS.
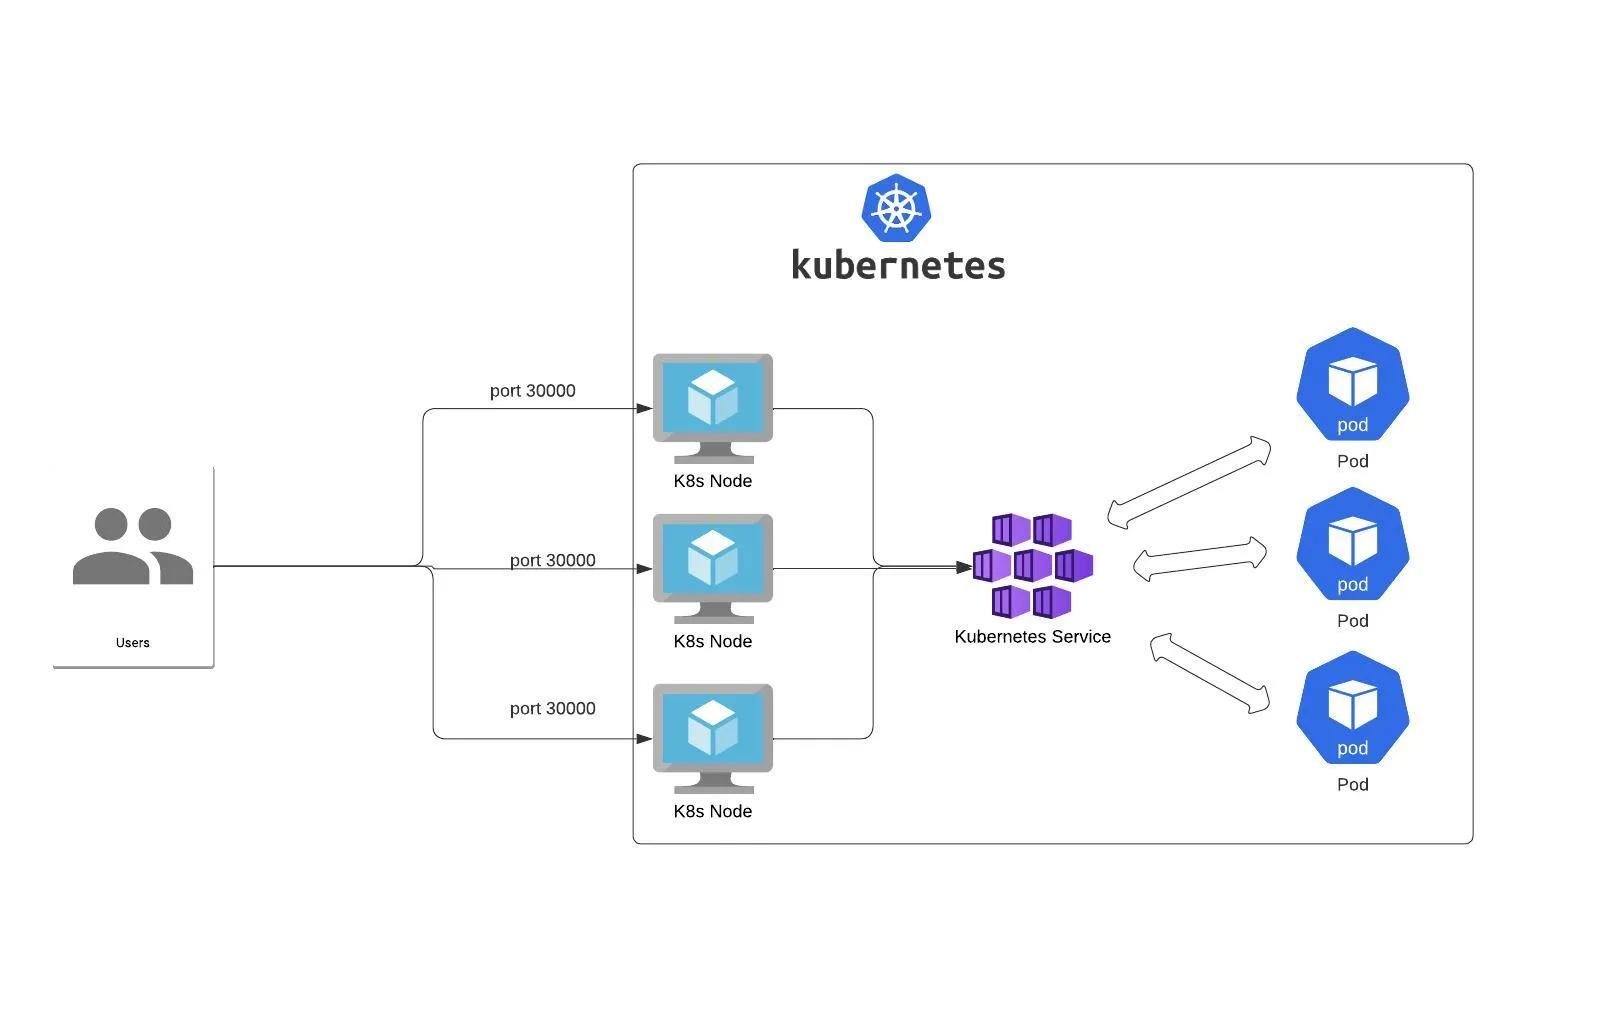
On a side note, this is very much what Kubernetes does as well with not only Worker Nodes and Control Planes, but k8s services. When you use a Kubernetes Service, the Service is the “front door” so to speak of the application. It’s what users and other applications will reach out to. Behind that Service is one (1) or more Kubernetes Pods, which is where your application is running. The Service load balances the traffic to the Pods.
How It Impacts Performance
Aside from the overall load balancing for Disaster Recovery and High Availability along with the network redundancy in case a zone goes down, there’s also a high likelihood of performance increases.
The goal of resource optimization and cost optimization is to ensure that your application is running and performing as expected, but with the resources that it actually needs instead of taking up resources that it may not need (overspending). With auto-scaling, Virtual Machines are scaled up and scaled down based on a percentage of load used for CPU/Memory and even GPU depending on what app is running.
A great example is Azure Kubernetes Service (AKS).
AKS is using VMSS behind the scenes for Worker Nodes, which means if you’re utilizing the Cluster Autoscaler or kicking things up a notch with Karpenter on AKS, that means you need an effective method on the backend to scale up and scale down Worker Nodes on the fly. VMSS allows AKS to do this properly.
AWS uses the same thing for Elastic Kubernetes Service (EKS).
The gist is more compute power in a quicker fashion == better performance based on CPU/GPU/memory needs.
Auto Scaling In Azure
Now that you have a bit of theory under your belt and understand the “why” behind autoscaling, let’s dive into the hands-on piece and learn how to set up VMSS.
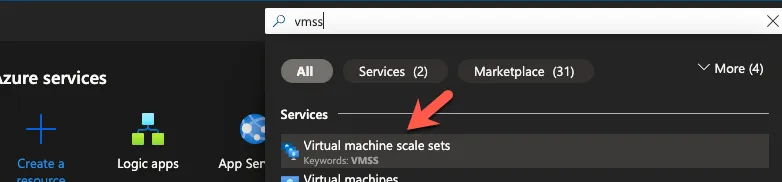
- Search for VMSS in the Azure portal.
- Click the blue + Create button.
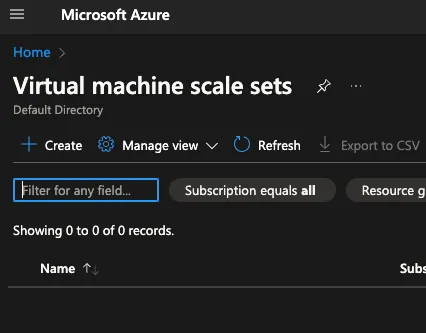
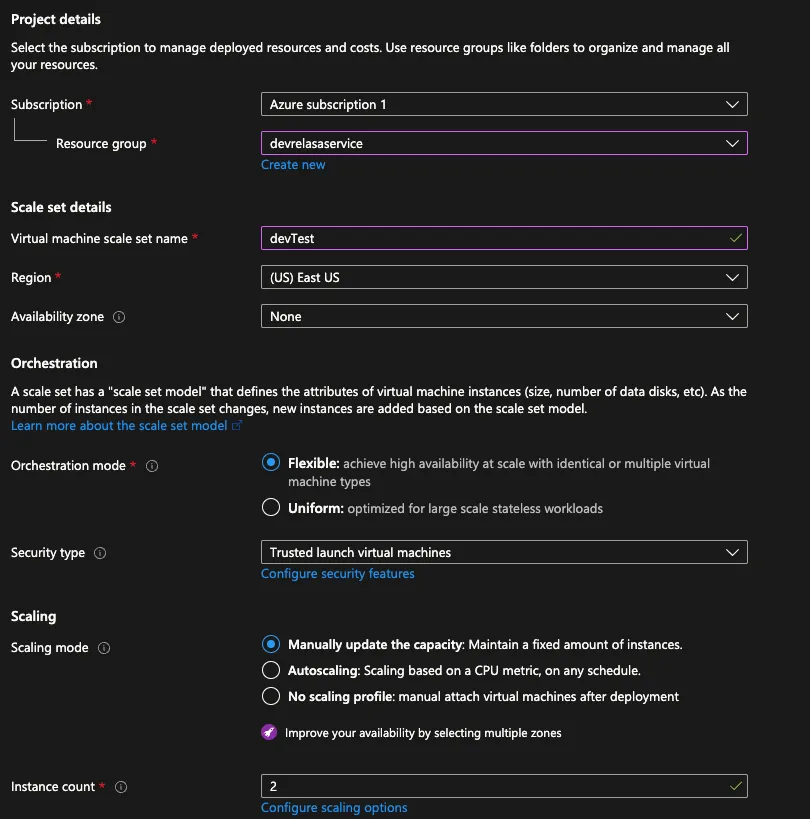
- Input the standard information like subscription, RG, name, etc.
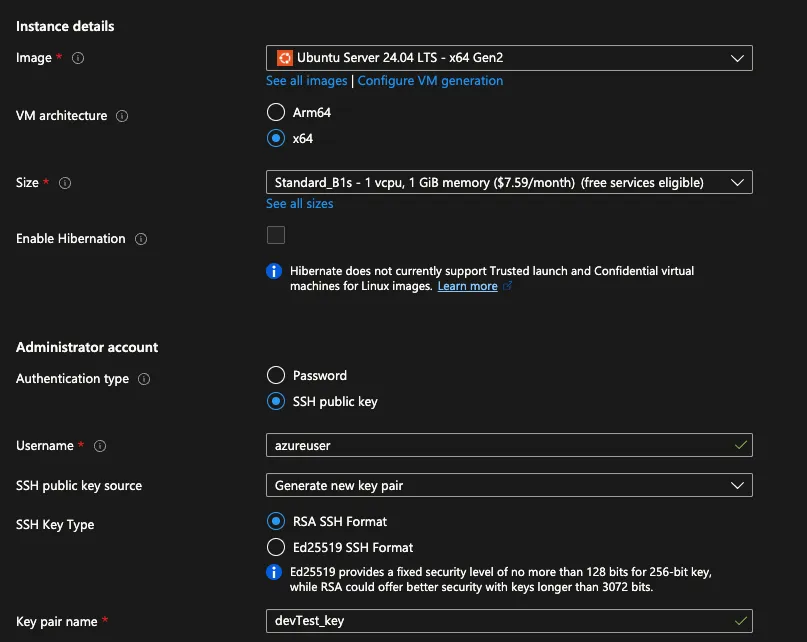
You’ll see a few different options for orchestration, primarily around how you want the scaling to occur, the scaling mode, and the default instance type along with what Operating System (OS) you want to use.
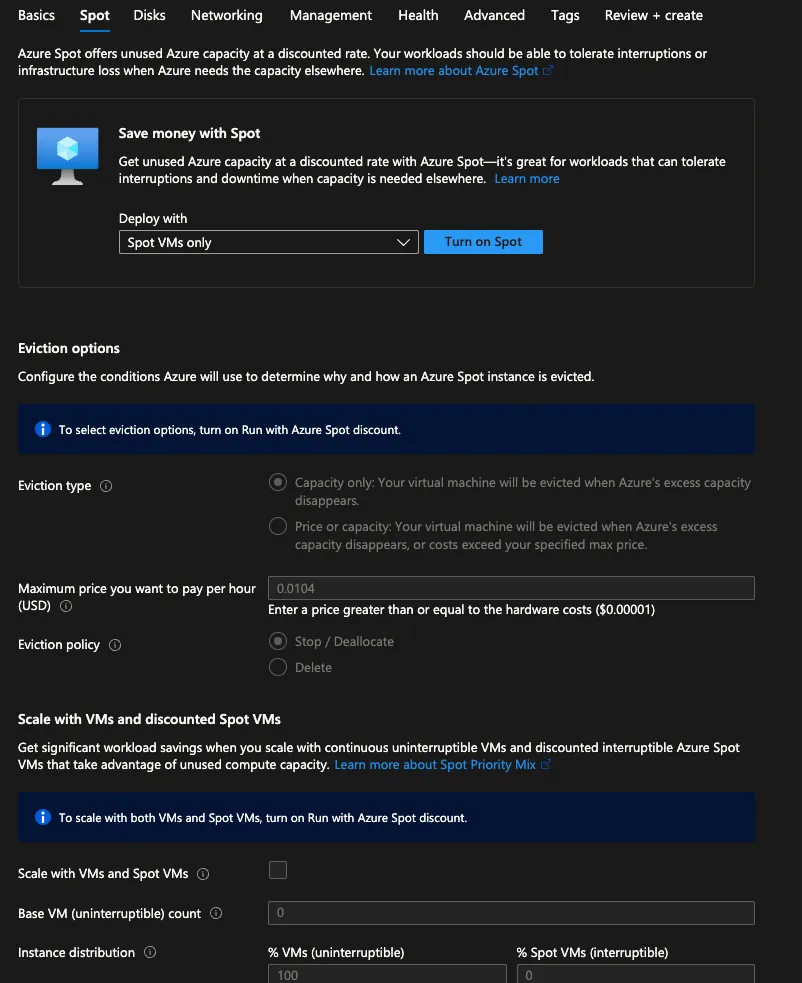
- The next tab asks if you’d like to turn on spot instances. This is always an architectural decision, but unless otherwise necessary by an application stack, the option is usually a “yes”.
The next few tabs are around networking, monitoring, etc. (standard VM stuff) that you’re welcome to skip or configure.
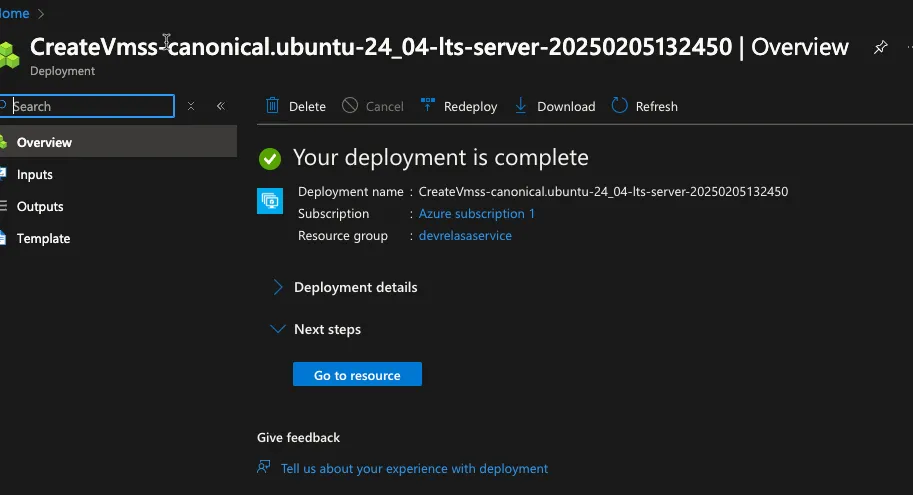
- At the end, you’ll see a blue Create button.After a few minutes, your deployment is now complete.
Now that you’ve learned how to configure autoscaling in Azure, let’s learn how to do the same in AWS.
Always remember to clean up your resources so you don’t get charged.
Auto Scaling In AWS
You’ll find two pieces to the autoscaling puzzle in AWS:
- The ASG.
- The ASG plan
Let’s start out by creating the ASG and then the plan (the ASG is a prerequisite for the plan).
Create An Auto Scaling Group
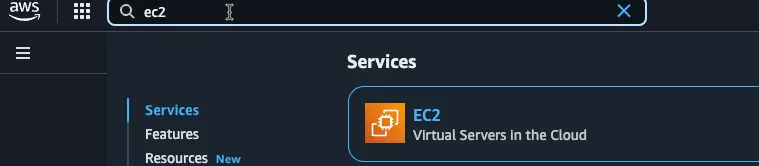
- In the AWS portal, search for EC2.
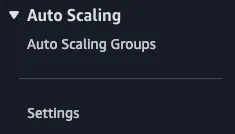
- Within EC2, on the bottom left of the screen, you’ll see Auto Scaling Groups.
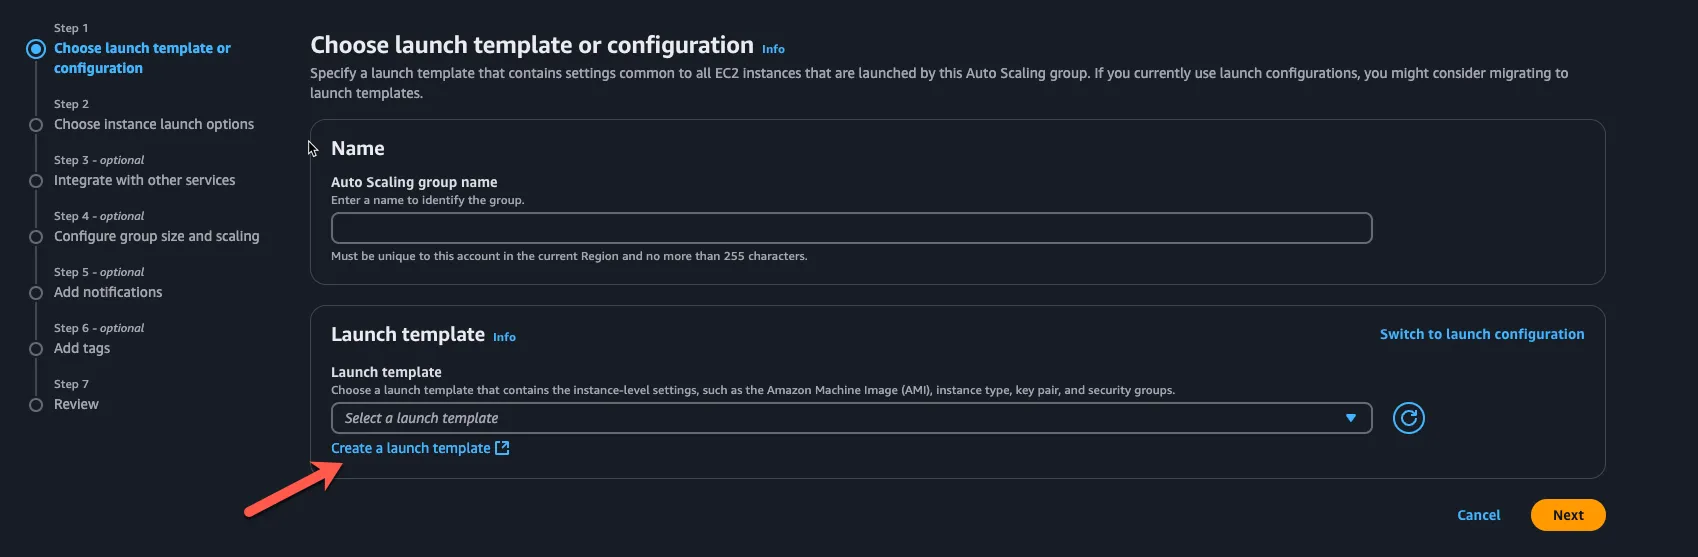
- The first step is to choose a name and a launch template. Ironically enough, you have to create a launch template, so click that blue button.
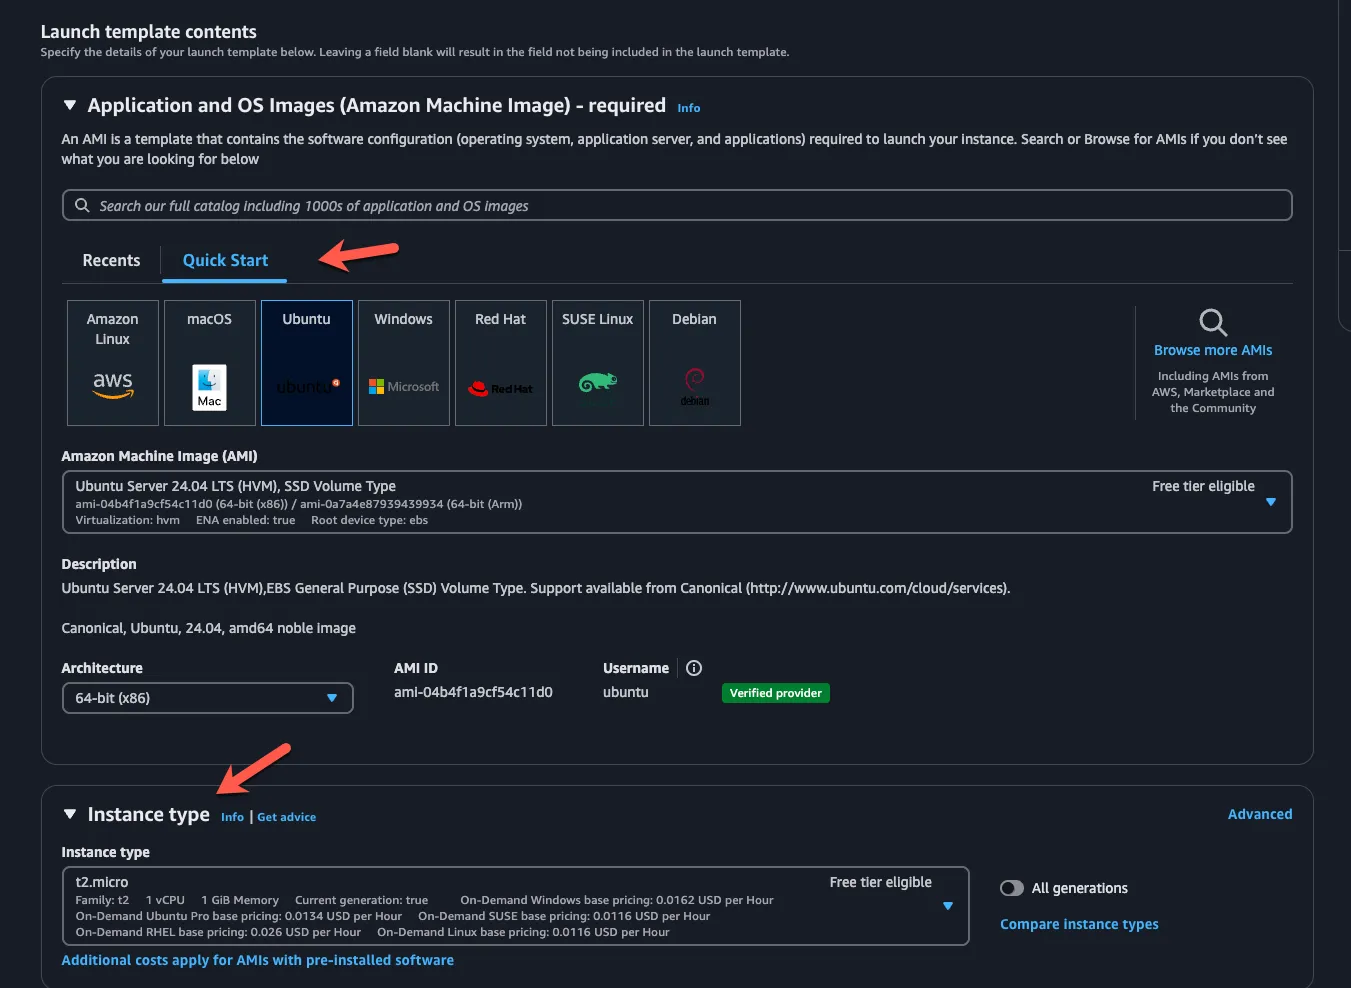
- Create a launch template with a proper name and description.
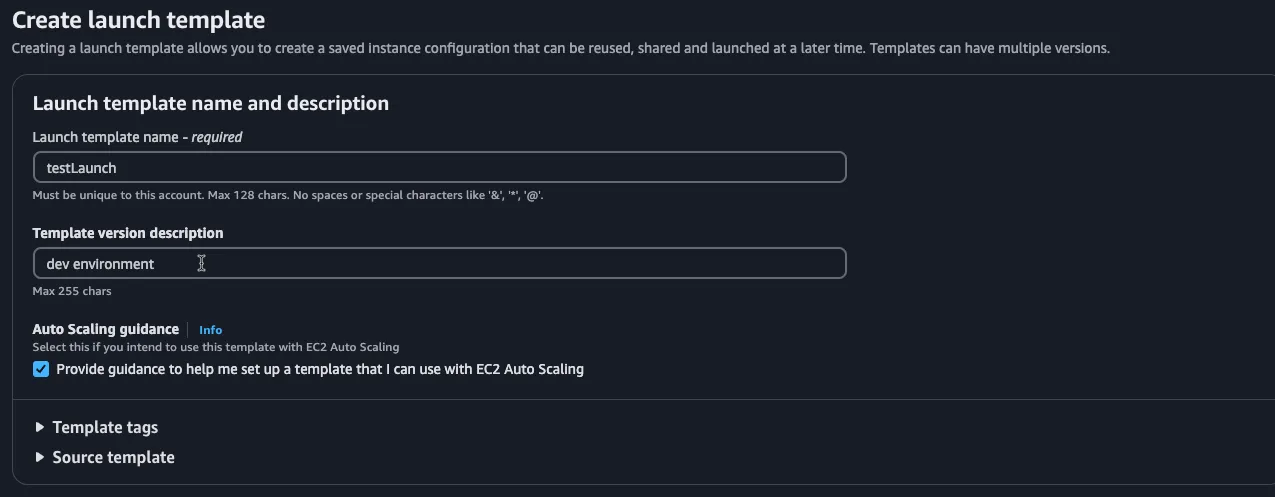
- Within the launch template, you’ll choose what OS you want to use and the instance type.
- Once complete, go back to this screen via ec2 > Auto Scaling Groups and choose the launch template you just created.

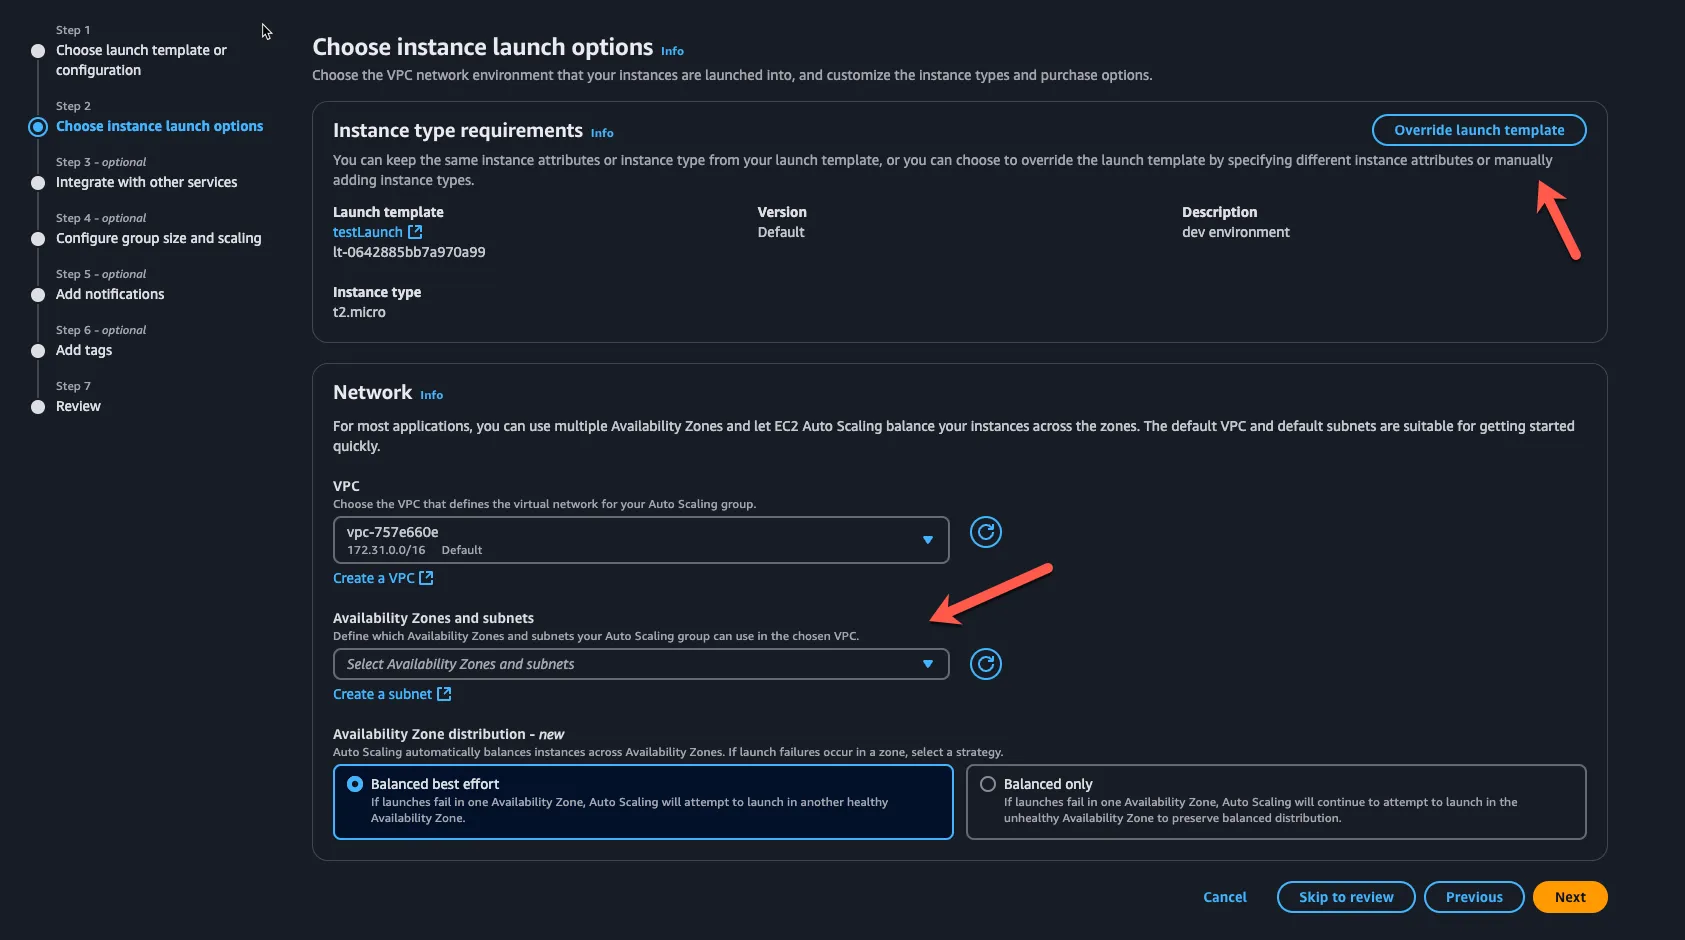
- Within the second step, you’ll choose the network you want the ASG attached to. If you click the blue Override launch template, you’ll see an option to choose “additional instance types”. This is what allows you to scale out the instance types to use based on the application stack. If you choose the “Availability zones and subnets” option, you can choose more than one AZ to ensure multi-zone networking for your autoscaling group.
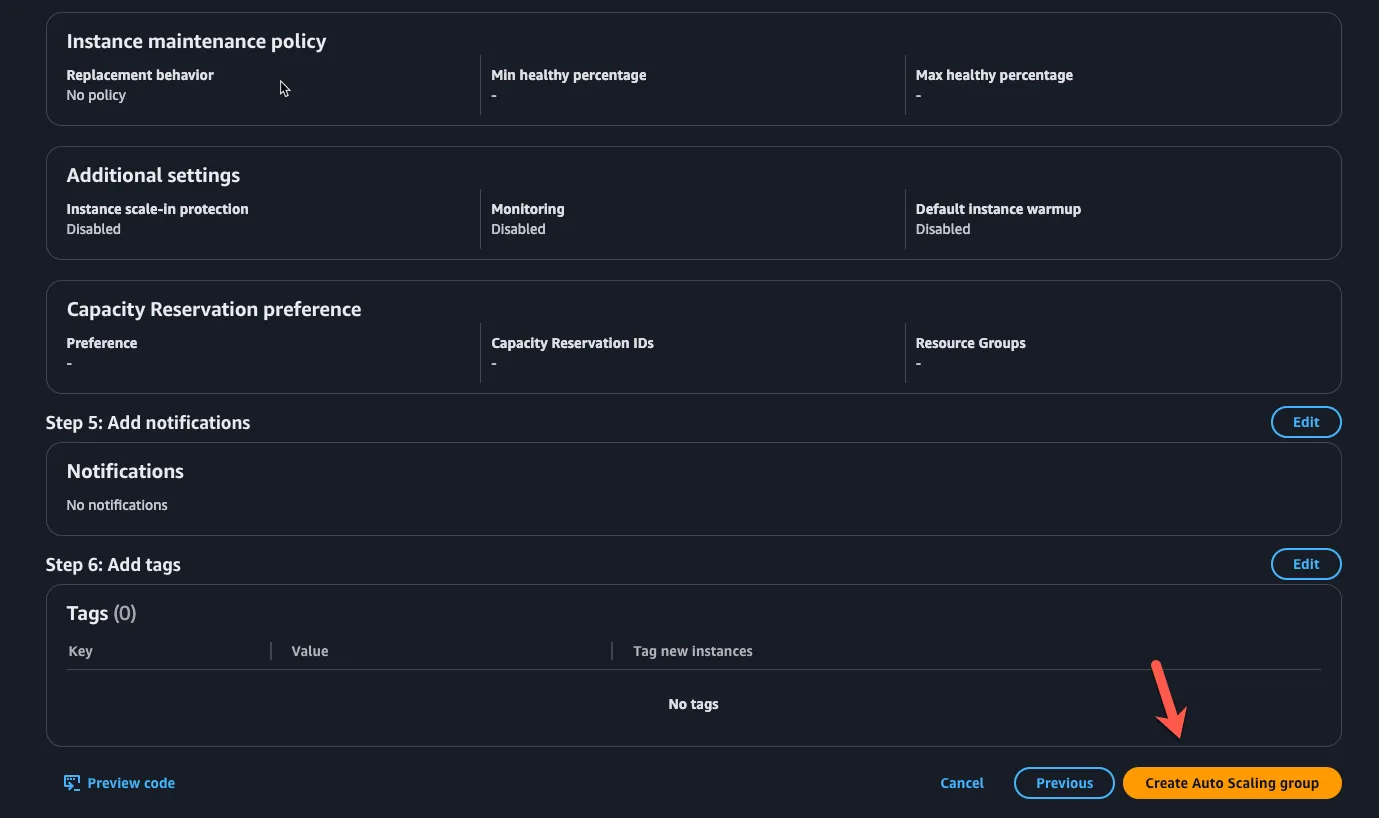
- You can leave the next steps as default and click the orange Create Auto Scaling group button.
Now that the ASG is configured, you can create a plan to scale your app effectively.
Create An Auto Scaling Plan
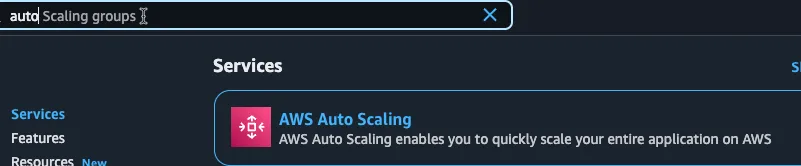
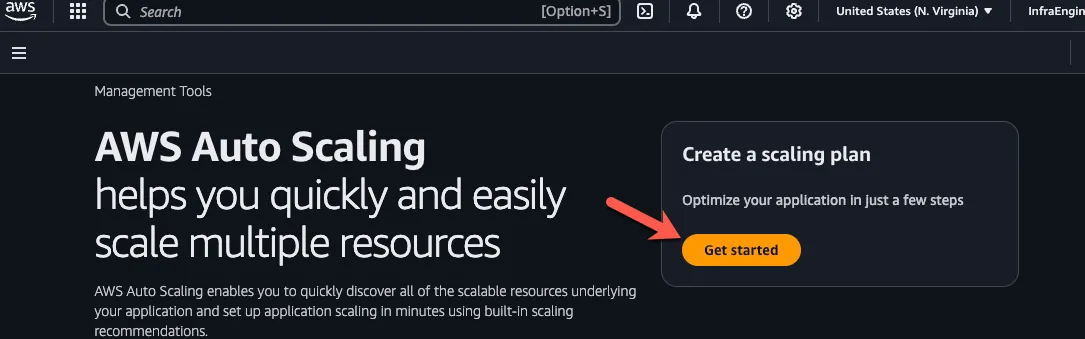
- Within the AWS portal, search for “auto” and the first service that pops up will be for AWS Auto Scaling.
- Click the orange Get started button.
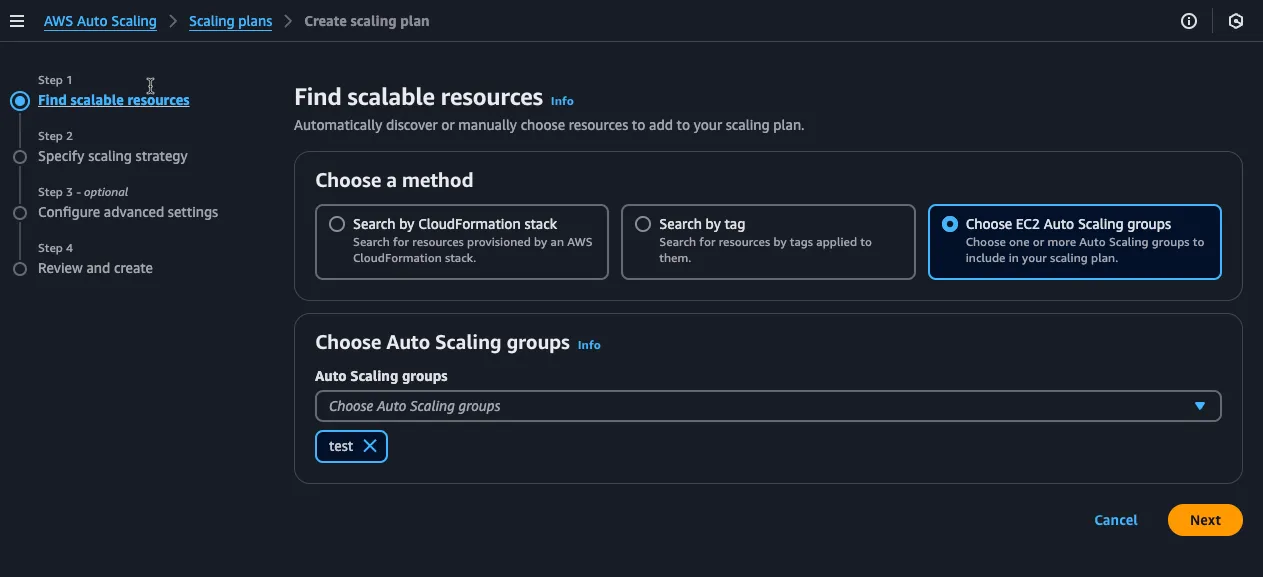
- The first thing you’ll do is click the Choose EC2 Auto Scaling groups and choose the ASG you just created.
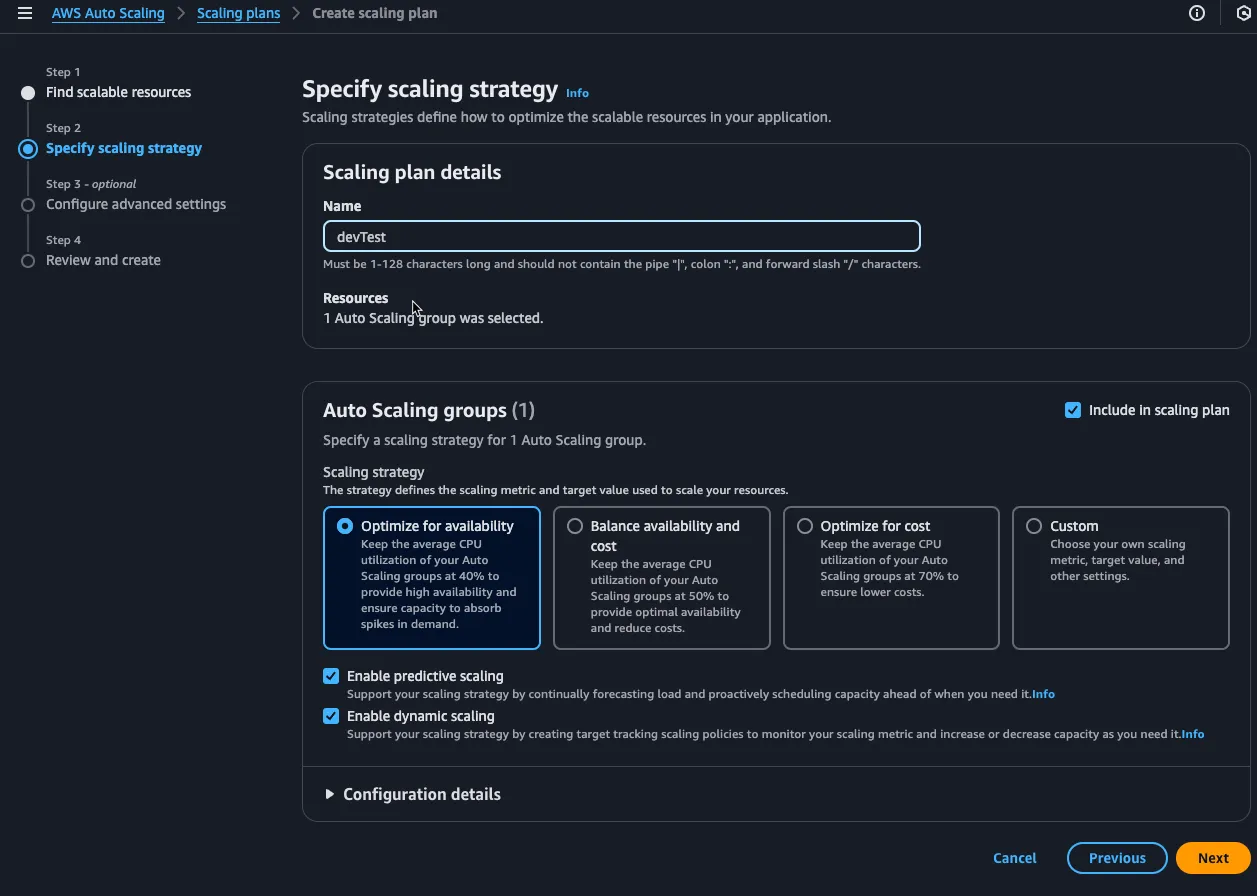
- Next, you’ll be able to give your plan a name and a scaling strategy. The scaling strategy all depends on the application stack and what you need it to do, so there’s really no recommendation here.
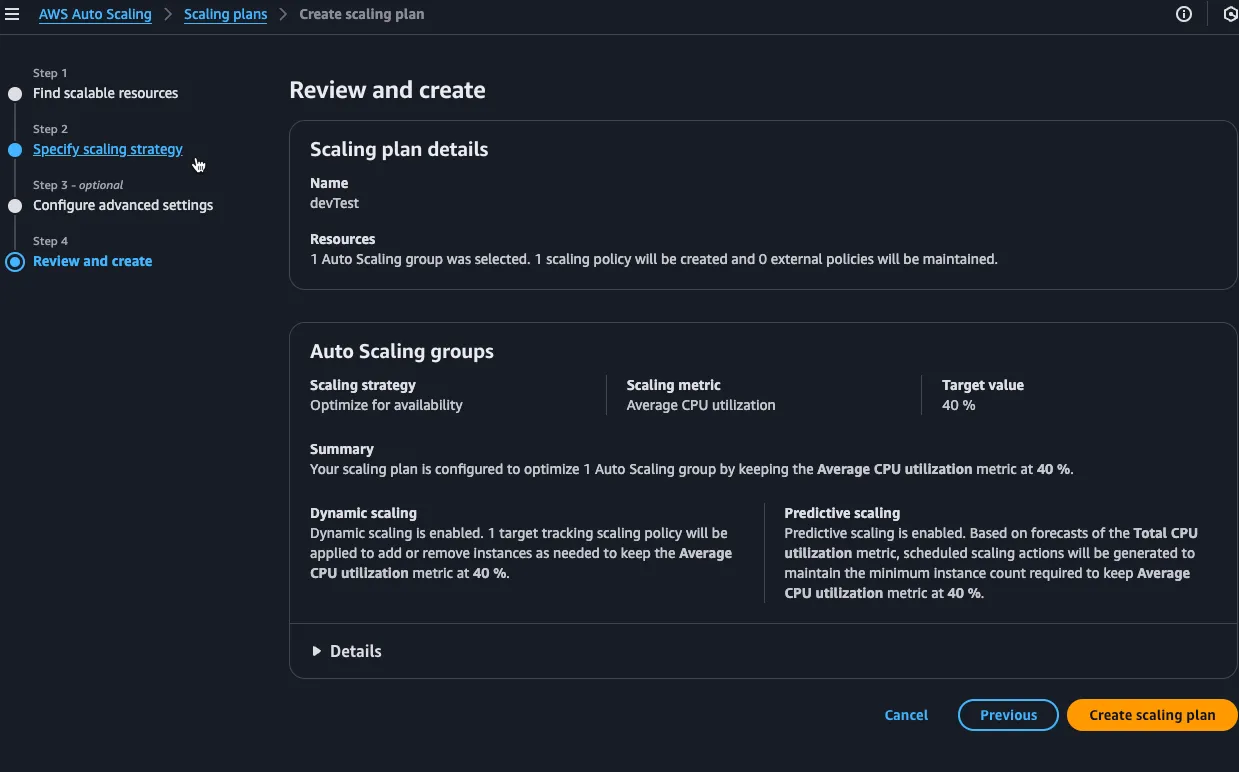
- You can skip step 3 and once complete, click the orange Create scaling plan button.
Always remember to clean up your resources so you don’t get charged.
Closing Thoughts
Congrats! You’ve officially not only learned about autoscaling, but how you can implement it in both Azure and AWS for various services. The goal now is to go back to your production environment and without changing anything, figure out where autoscaling can benefit you.

Comments ()